

How to Install Synthetic Golf Green Turf Without Visible Seams
A clean and professional golf green surface depends not only on the turf itself, but also on how the seams are trimmed, aligned, and closed.
When installing synthetic golf green turf, one of the most common concerns is how to avoid visible gaps between two pieces of grass.
Even high-quality artificial golf turf can look unprofessional if the seam is not handled properly. A poor joint may leave a visible line, an open gap, or an uneven surface that affects both appearance and ball roll.
The good news is that a clean and nearly invisible seam can be achieved by following the correct installation method.
The key to a seamless finish is not force — it is precision.
Correct positioning, accurate trimming, and proper closing of the joint are what make a synthetic golf green look complete and professional.
Step 1: Position the Turf and Trim Along the Groove Line
First, place both pieces of golf green turf in the correct installation position and check how the edges meet.
Once the position is confirmed, use a small knife to carefully trim the edge. The cut should follow the groove area in a straight line. This helps create a cleaner edge and allows the two pieces to join more naturally.
Accurate trimming at this stage is extremely important. If the cut is uneven or too rough, the seam will remain noticeable even after joining.
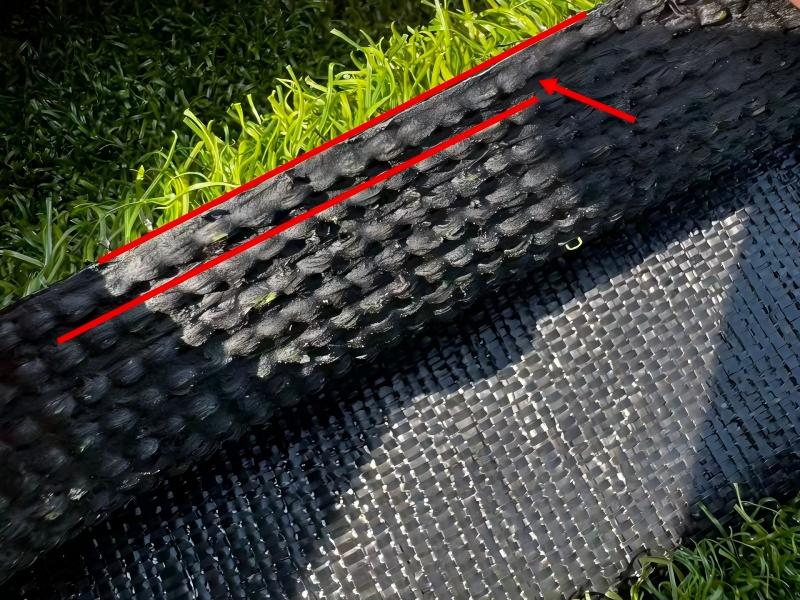
Step 2: Trim Both Sides Cleanly
After one side has been cut, trim the matching edge on the other piece in the same way.
At this point, both sides should be neatly prepared and ready to join. The goal is to make sure the two cut edges can come together closely without overlapping and without leaving an open space.
Clean and consistent trimming on both sides is the foundation of a seamless joint.
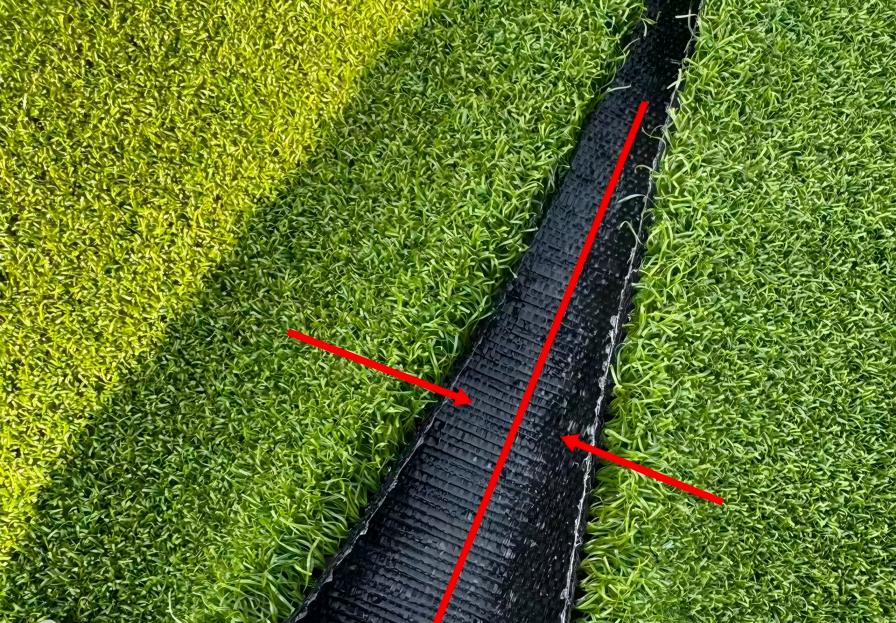
Important trimming tip:
- Do not cut too aggressively.
- Keep the line straight and controlled.
- Always trim according to the groove section.
- Check the fit before final closing.
Step 3: Close the Joint Like Closing a Cabinet Door
Once both sides are trimmed, do not simply push one piece directly into the other from above.
Instead, bring the two sides together like closing a cabinet door. Both edges should move toward each other at the same time, then be pressed downward into place.
This method helps the grass fibers sit more naturally and prevents the seam from opening or creating an obvious straight gap.
After the two sides are closed together, gently rub the joined area with your hands and pat it lightly. This helps blend the fibers and makes the seam less visible.
Step 4: Rub and Pat the Joined Area
After the seam is closed, the final detail step is to work the joint area by hand.
Rub the seam gently to help the grass fibers interlock visually, then pat the surface so the joint settles evenly. This step improves the final finish and reduces the appearance of a visible line.
It may look like a small detail, but it makes a big difference in the final presentation of the synthetic putting green.
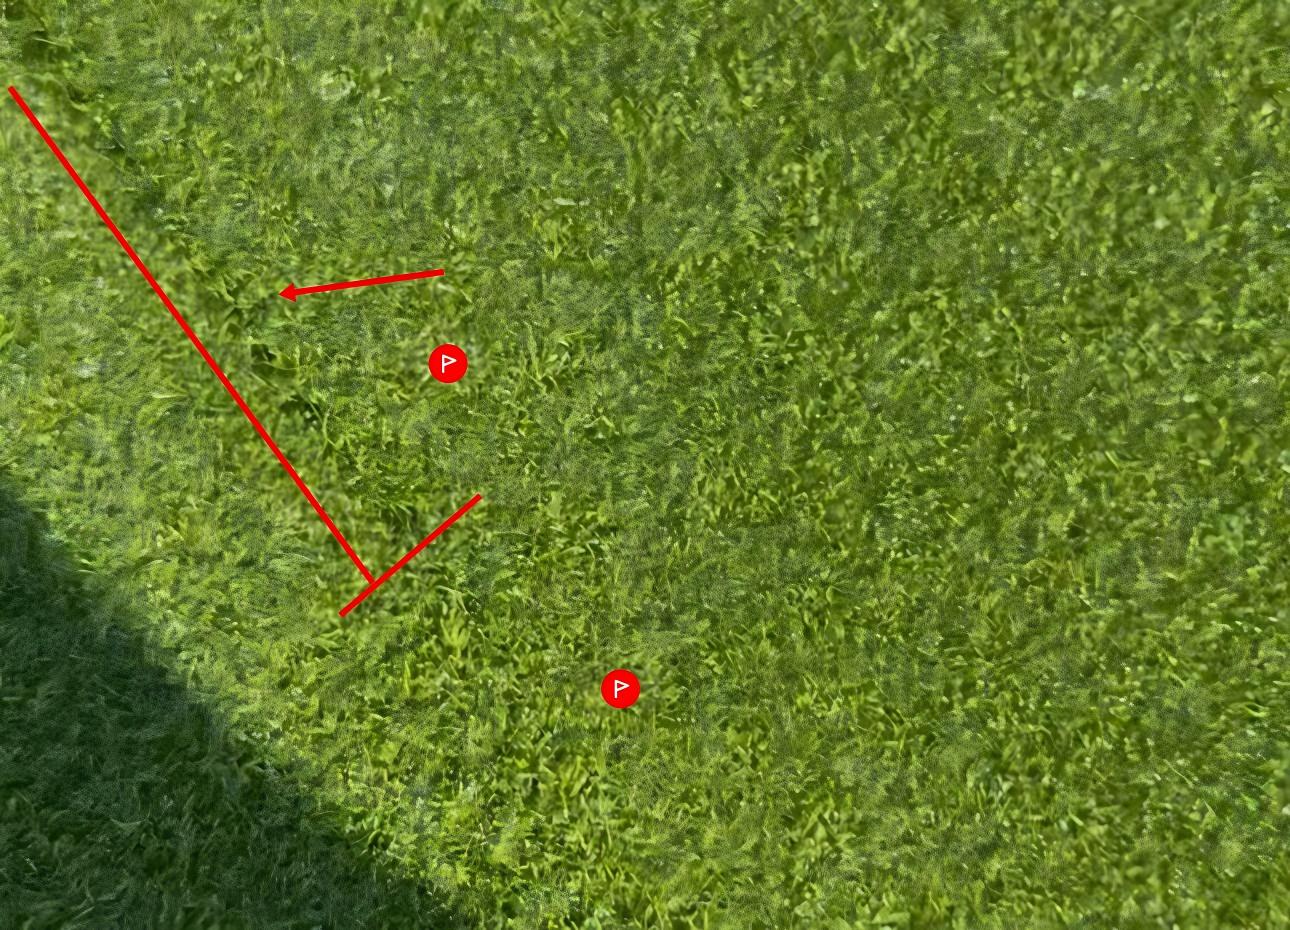
Wrong Method vs Correct Method
If the turf is not cut and joined using the proper method, the result is often very obvious. The seam may appear as a visible gap, an unnatural line, or a mismatched surface.
By contrast, when both edges are trimmed correctly, closed carefully, and blended after installation, the seam becomes much less noticeable and the entire green surface looks more complete.
The Standard Finished Result
When the full installation process is done correctly, the final golf green turf surface looks neat, continuous, and professional.
This is the installation standard that helps a putting green turf project achieve a better visual effect and better user experience.
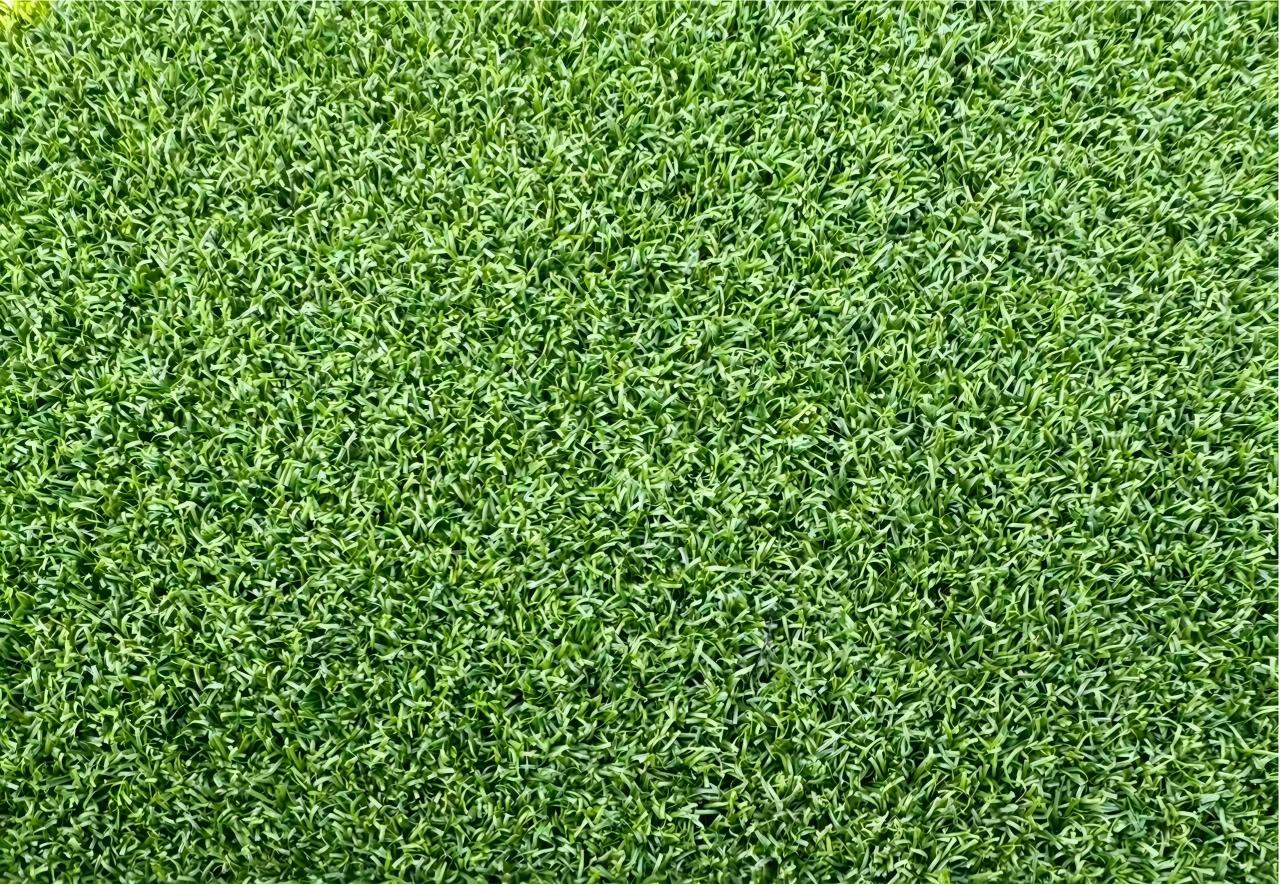
A seamless synthetic golf green is created step by step.
Correct trimming, correct closing, and correct finishing are the three keys to a clean result.
Final Tips for Better Seam Installation
- Always confirm the turf position before trimming.
- Use a small knife and cut carefully along the groove line.
- Trim both sides cleanly before joining.
- Bring the two sides together like closing a cabinet door.
- Press downward, then rub and pat the joined area.
- Inspect the seam visually before final fixing.
For professional golf green projects, details like seam treatment are just as important as the turf material itself. A good installation method can significantly improve the final appearance of the entire green.
Need help choosing or installing synthetic golf green turf?
Contact us for golf green turf solutions, product details, and installation guidance for your putting green project.
Send us your project idea or site photos — we will be happy to help.